Marching Percussion
Survival Guide
Between band camp, competition weekends, and late-season run-throughs, marching season can be rough on you and your gear. That’s why we created the D’Addario Marching Percussion Survival Guide: to help you stay ahead of the wear and the weather and face the season head on.
Essential Accessories
Explore our line of EVANS and ProMark marching gear, built for peak performance and designed to help you lock in, level up and lead the line.

EVANS Hybrid Series Marching Snare Batter Head
Engineered for durability and a crisp, articulate sound, these high-quality snare batter heads are built to withstand the rigors of any marching performance.

EVANS System Blue Marching Tenor Head
Perfect for tenor lines seeking clarity and depth, these exceptional marching tenor heads deliver a warm, resonant tone with enhanced attack.
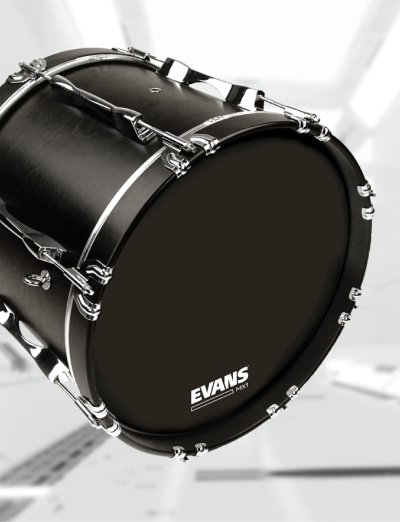
EVANS MX1 Marching Bass Drumhead
These marching heads are equipped with a unique tone damping system that enhances articulation and focuses low-end. A series of felt damping arcs can be manipulated for indoor or outdoor marching.
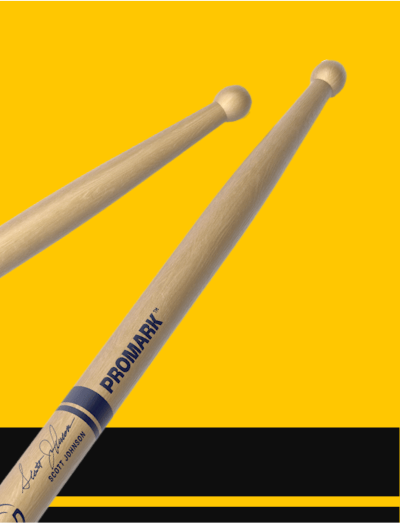
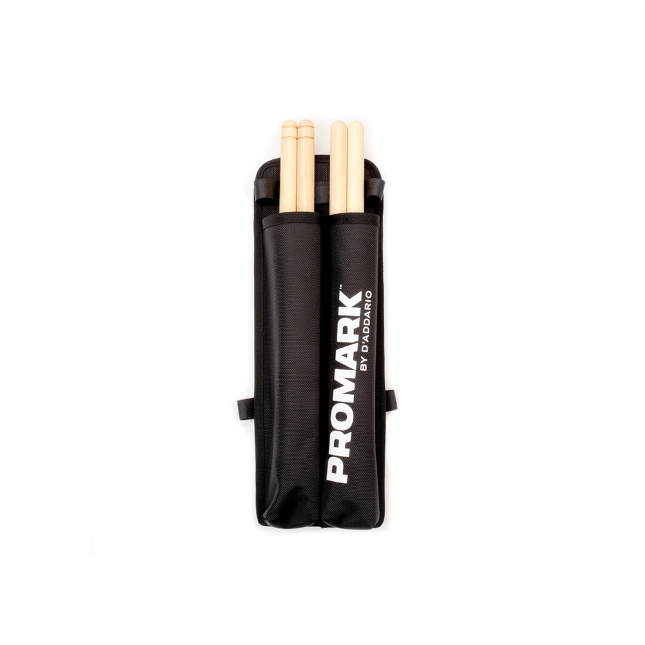
ProMark Marching Snare Drumsticks
Balanced for comfort and control, these first-rate snare drumsticks offer the durability and quick response players need for a dynamic performance.
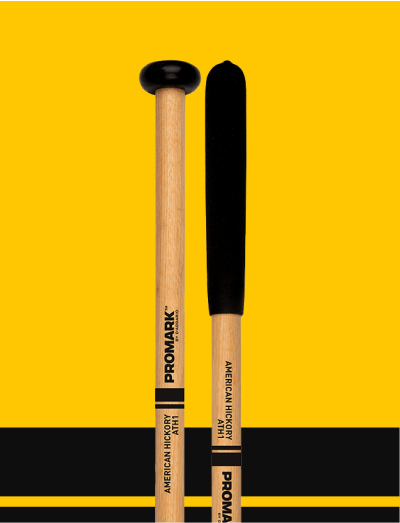
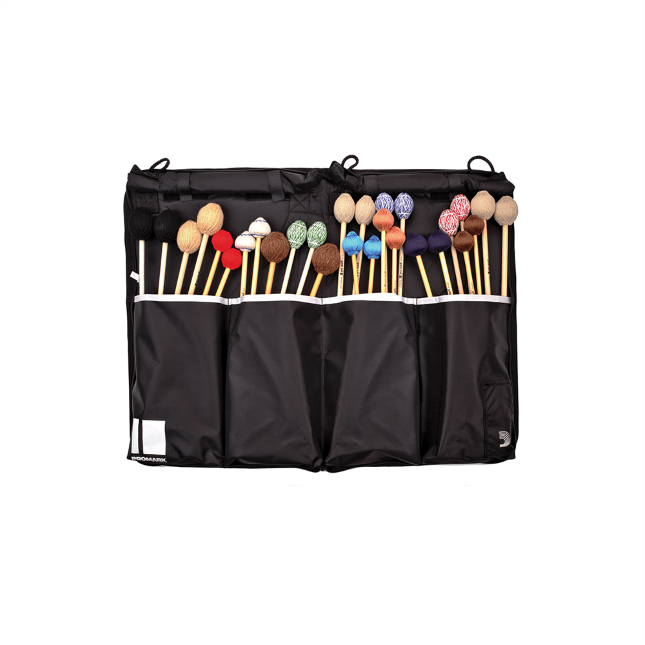
ProMark Marching Tenor Mallets
These premium tenor mallets are designed for durability and consistent tone across all tenor drums, ensuring a reliable performance.
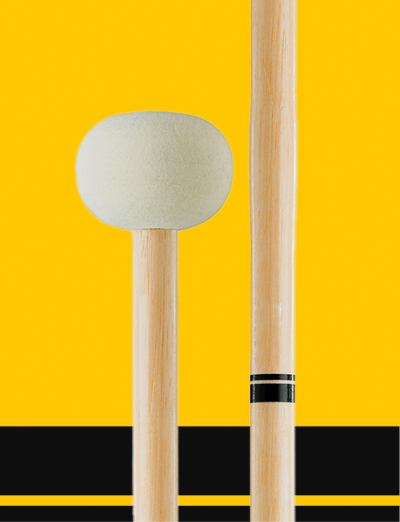
ProMark Marching Bass Drum Mallets
Crafted for power and precision, these expertly-made bass drum mallets provide the durability and punch needed for impactful bass drum parts.
Essential items like drum keys, stick bags, and maintenance tools to keep your equipment performance ready.

How To Tune Your Marching Tenor Drum
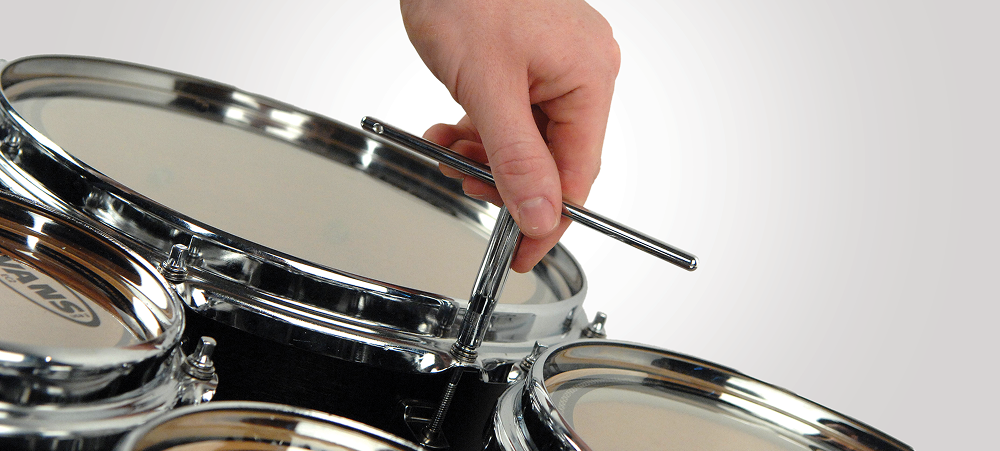
1. Mount the top head and finger-tighten all tension to equal tension.
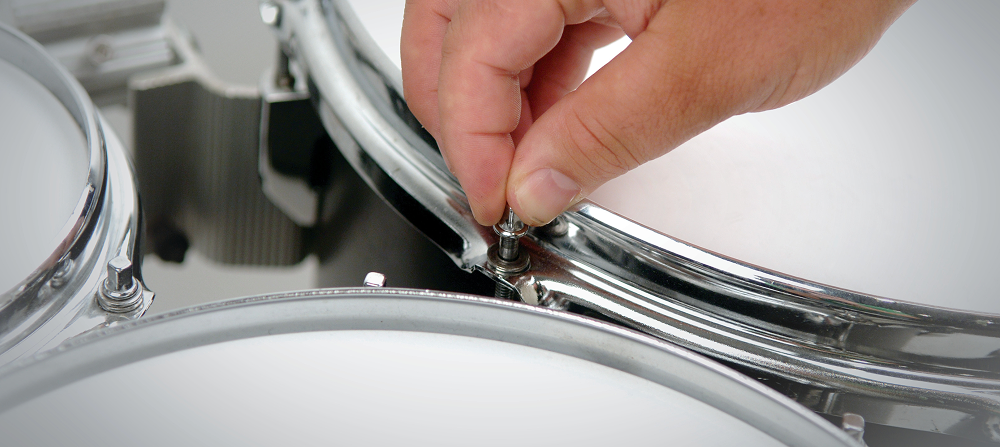
2. Starting with the largest drum, use the appropriate sequential tuning method and use 1⁄2 turns on each lug, until the drum is within its general tuning range. As you bring the head up to range, use a stick to tap in front of each lug to ensure that each lug produces an identical clear tone. Select a specific pitch and tune using a chromatic tuner.
![]()
3. When selecting specific pitches, 2 refer to the chart below as a guideline.
- 6" F#
- 8" C#
- 10" A
- 12" F#
- 13" D
- 14" Bb
4. Repeat steps 1-3 with the rest 4 of your drums, tuning all drums
in reverse order of size. Use a chromatic tuner to ensure the correct interval.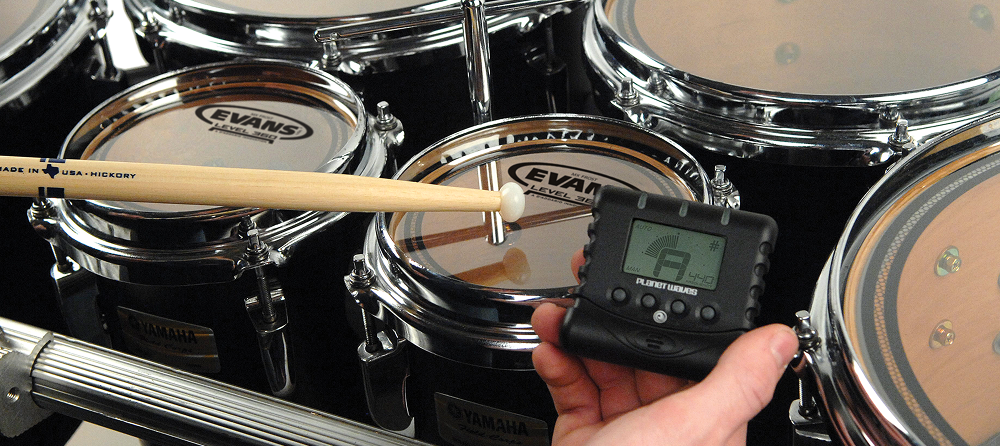
Pro Tip:
Tune your spock drum(s) highest, and work downward. The goal is a melodic, stepped spread that’s musical but not disjointed.