ELECTRIC GUITAR
SURVIVAL GUIDE
![]()
We call it a survival guide, but it's really a bunch of tips to help you thrive. These simple pieces of advice will keep your guitar in top shape and help you to advance your playing with ease.
TUNING TIPS
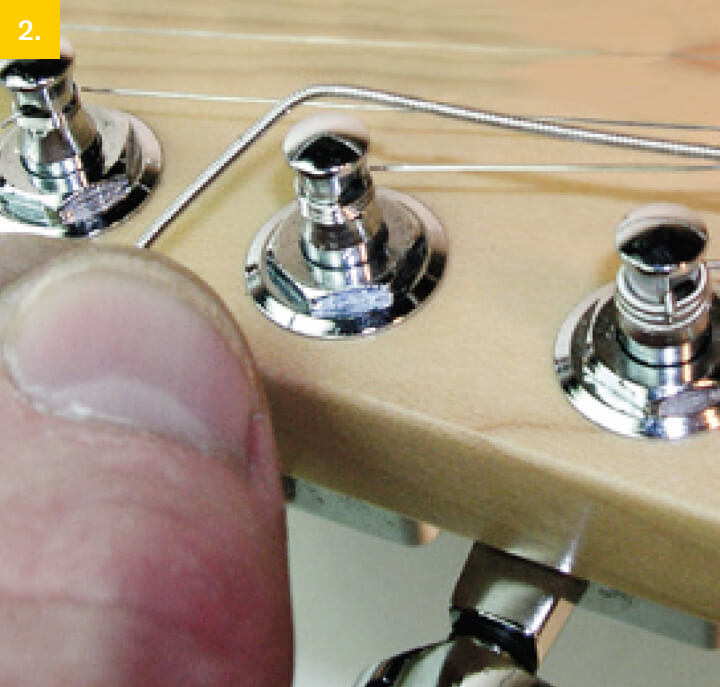
Step 1:
When you replace your strings, before you tune them up, stretch them out by pulling them up and away from your fretboard. This will help the strings stretch out quicker and minimize the need to retune too many times initially.
Step 2:
Always tune up to the note from a lower pitch. It helps the string remain in tune longer.
Step 3:
Keep a tuner on you to ensure accurate tuning.
Step 4:
When you're playing, check to see if you're in tune as often as is practical. You never know when a guitar will drift out of tune too subtly for you to catch with your ear.
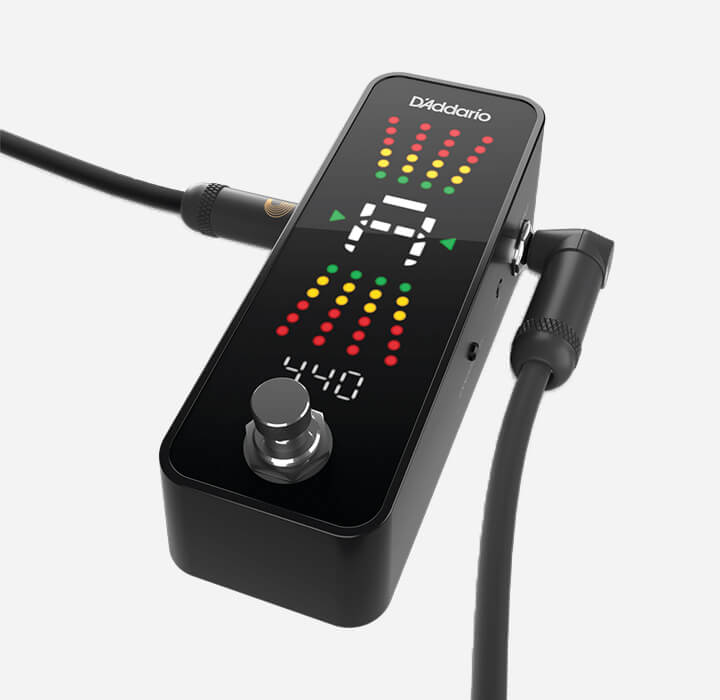
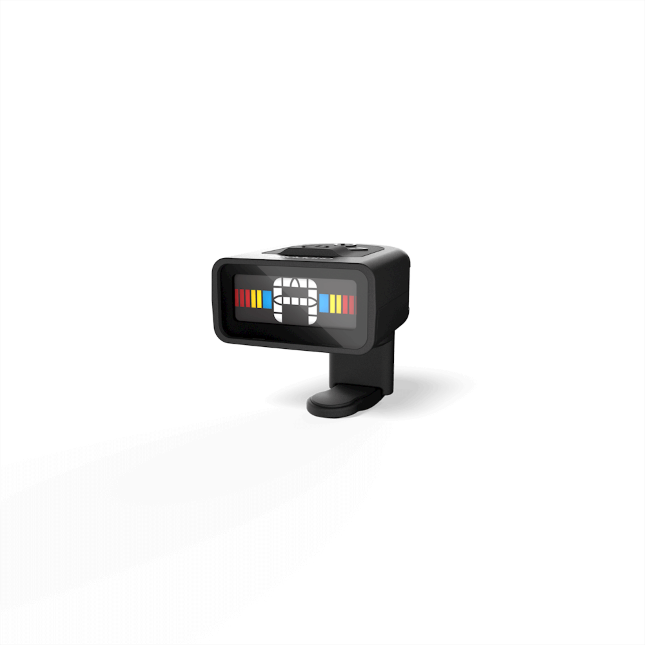
CHROMATIC PEDAL TUNER
32-Bit, True Bypass
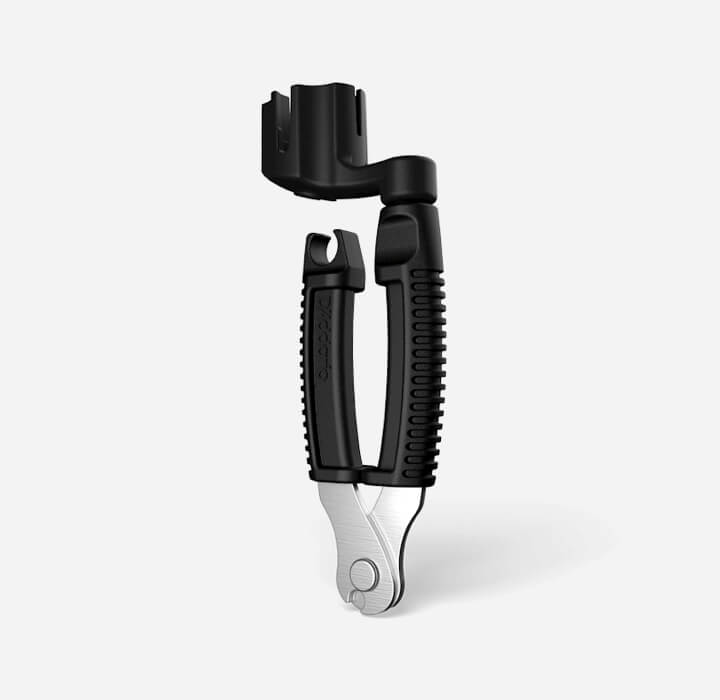
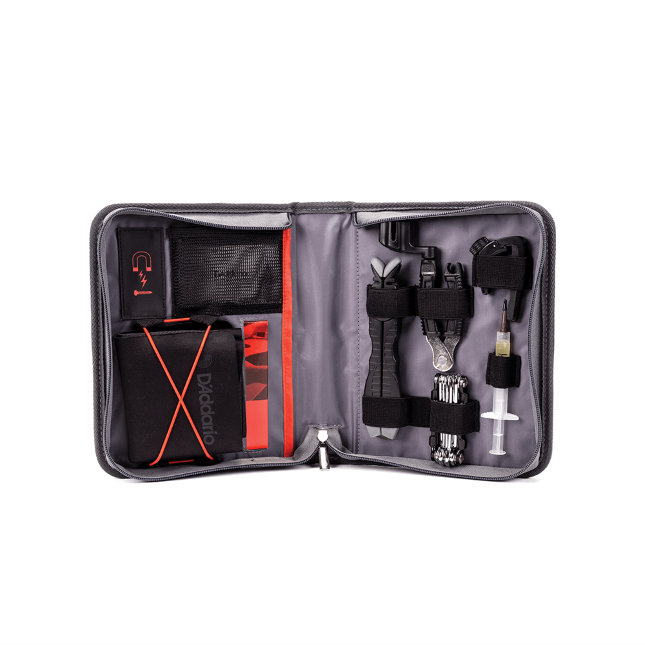
PRO-WINDER
For All Instruments
HUMIDITY TIPS
Step 1:
Use a hygrometer to measure the humidity of your instrument. Ideally you want to keep it between 45-55%. Hygrometers have some leeway in their accuracy, so if you're slightly outside that range, your instrument should be fine.
Step 2:
Keep a Humidipak or other D'Addario humidifier in your guitar or case to stabilize the humidity.
Step 3:
Watch out for warning signs of low humidity, including sharp fret ends, cracks in the wood, and separation of glue joints. In addition, the lacquer may sink or a matte finish will have more of a pronounced grain texture than before.
HIGH PERFORMANCE TIPS
Keep it Tight—It's a good idea to snug up the nuts and screws on your tuners, to minimize string slippage and maximize performance.
Bad Buzz Below—To use alternate tunings below standard pitch, be sure to have your guitar properly setup by a professional. Not doing so could lead to bad string buzz.
String Removal and Fretboard Care
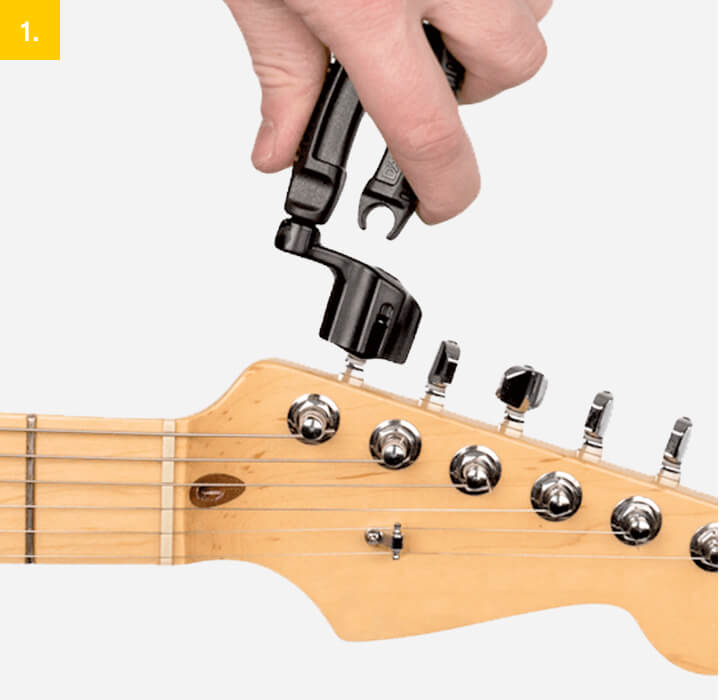
Step 1:
Use a Pro-Winder to turn tuners clockwise and loosen your strings. Once loose enough, remove them from the tuning post.
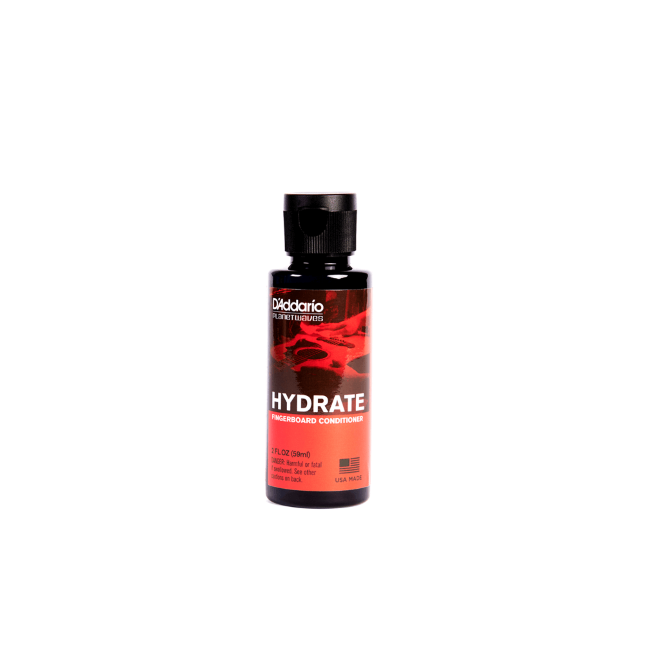
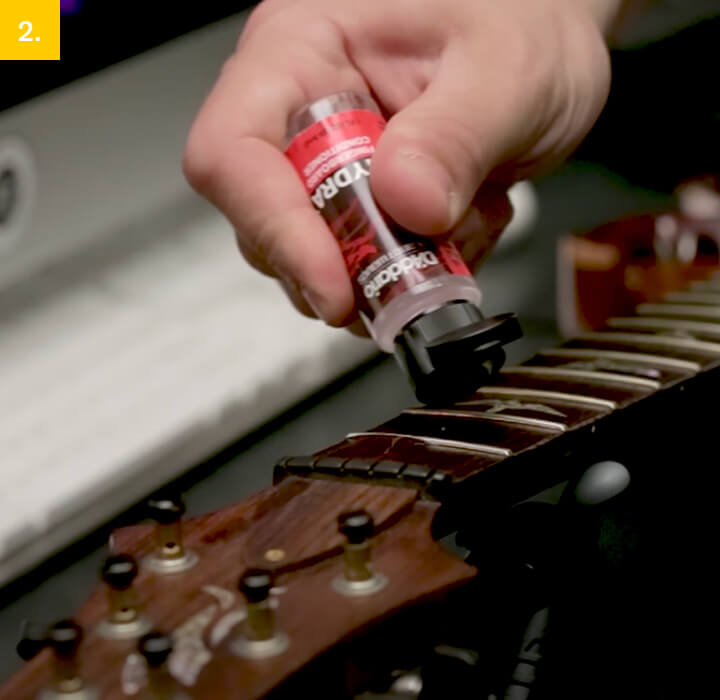
Step 2:
Spray conditioner such as D'Addario Hydrate on your fretboard. Use a cloth to rub any excess dirt or grime off of it. While in some instances you can also use lemon oil, it is not okay to use it on all fretboards and in particular, should not be used on lighter woods like maple.
Step 3:
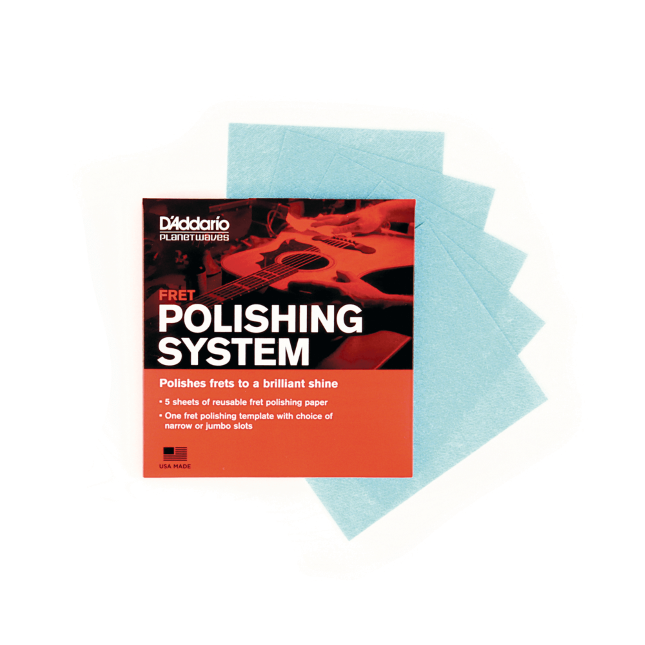
Polish the frets using Fret Polishing Paper to remove any corrosion.
CLEANING AND POLISHING THE BODY
Step 1:
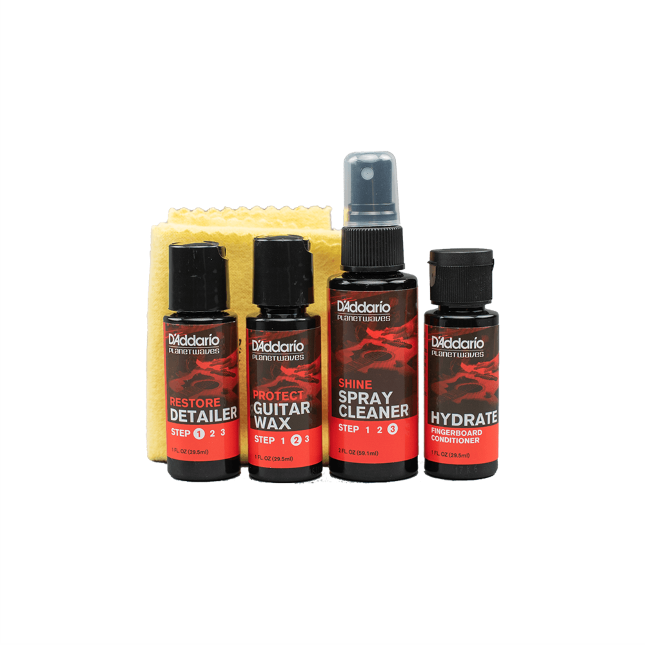
Clean your guitar's body with D'Addario Restore Detailer Deep Cleaning Polish and a cloth.
Step 2:
Apply D'Addario Protect Carnauba Wax to a microfiber cloth and polish all sides of the guitar body. Once it dries, gently remove with a polishing cloth.
Step 3:
Spray a small amount of D'Addario Shine Cleaner and Maintainer, then buff thoroughly in a circular motion to create a "wet" look.
STRING IT UP
Step 1:
Thread the string through the bridge (or tailpiece) and pull through until the ball end is against the bridge and cannot go any further.
Step 2:
Pull the string across the fretboard, over the nut, and near the tuning pegs.
Step 3:
Gently bend the string at a point about two tuning pegs beyond the peg it's intended for. This will give you an easy way to know a good length.
Step 4:
Insert the string into the tuning peg up to the bend. Turn the tuning key counter-clockwise to wind the string against the tuning peg.
Step 5:
Once it’s tight, use your Pro-Winder to cut off the excess string.


XL NICKEL WOUND ELECTRIC GUITAR STRINGS
are wound with nickel-plated steel, producing a bright sound and excellent intonation. D’Addario offers a complete line of 29 differently gauged sets of XL electric guitar strings.

XL PROSTEELS
utilize a highly magnetic, corrosion-resistant steel alloy that delivers super-bright tone without shrill overtones. They offer a palette of harmonically rich, brilliantly penetrating highs combined with pronounced, tight-and-tough lows. If you need a little more crunch, bite, and sustain, ProSteels are the string for you!
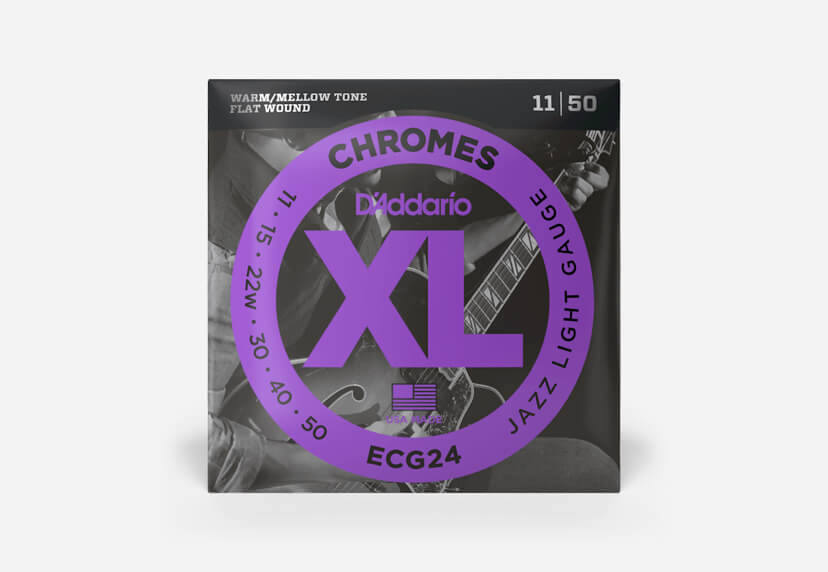
XL CHROME FLAT WOUND GUITAR STRINGS
deliver a smooth feel with their flat ribbon windings. Nickel-plated steel underwindings on hex cores, polished smooth, make Chromes the choice of jazz and fusion players.
WHAT'S THE BEST GAUGE TO USE?
String gauges vary so choose the right gauge for your playing style, within the recommendation of the manufacturer.
Whatever gauge you choose, be sure that your guitar is properly set up for that gauge to maximize its playability.
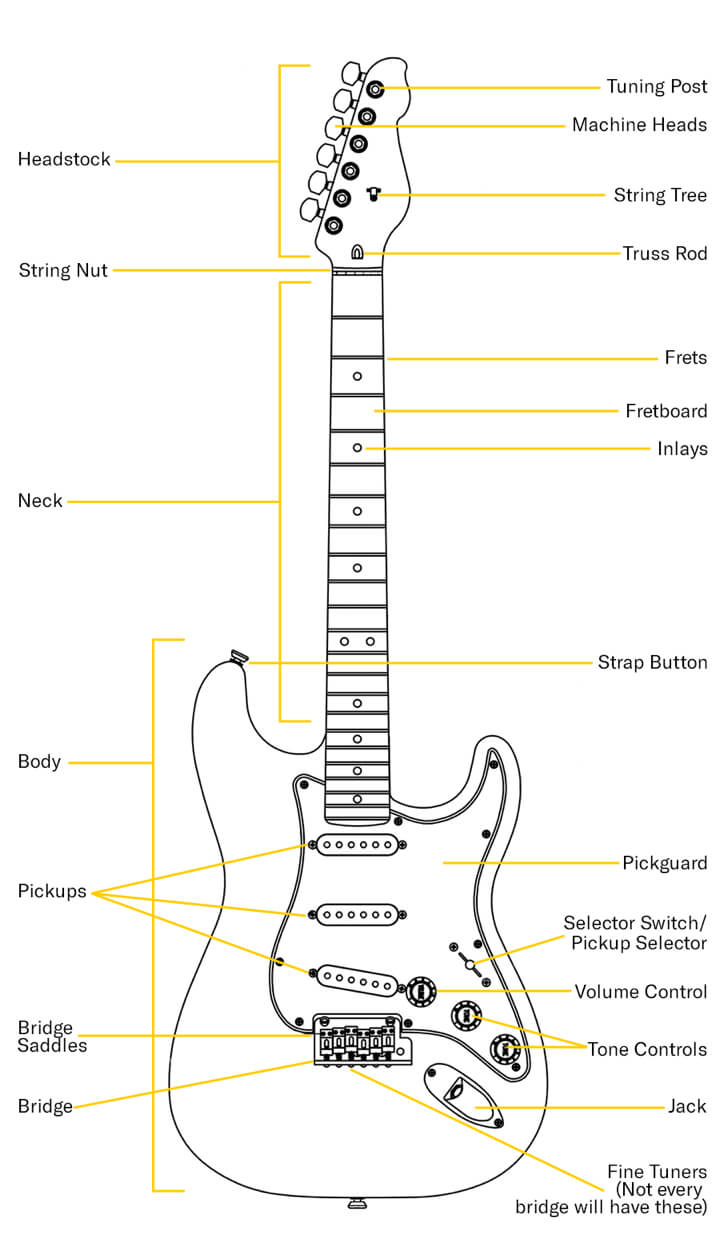
Electric Guitar Anatomy